
Installing corrugated roofing requires precision and attention to detail to ensure a weatherproof, long-lasting result. While the process is straightforward, following proper techniques is crucial for optimal performance. This comprehensive guide walks you through the entire installation process, emphasizing safety and best practices.
Safety First: Essential Precautions
Before beginning any work, prioritize these safety measures:
- Use fall protection equipment (harness and lifeline) when working at heights
- Wear personal protective equipment: safety glasses, cut-resistant gloves, and non-slip footwear
- Avoid installation during wet, icy, or excessively windy conditions
- Ensure adequate lighting and stable access using proper scaffolding or ladders
- Handle panels carefully – the edges can be sharp
Tools and Materials Checklist
Essential Tools:
- Power drill with screwdriver bit
- Metal cutting circular saw or nibbler
- Tape measure and chalk line
- Aviation snips for detail cuts
- Ladder or scaffolding system
Required Materials:
Closure strips for ridge and eave areas
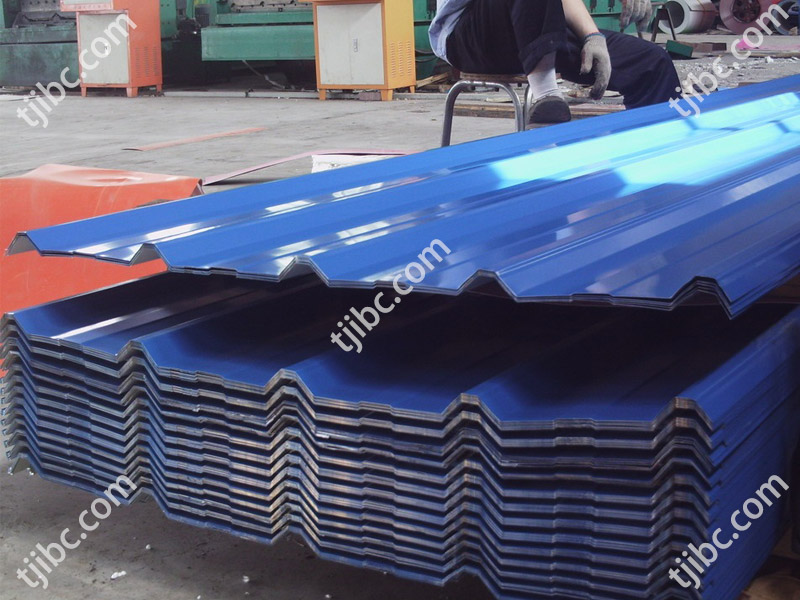
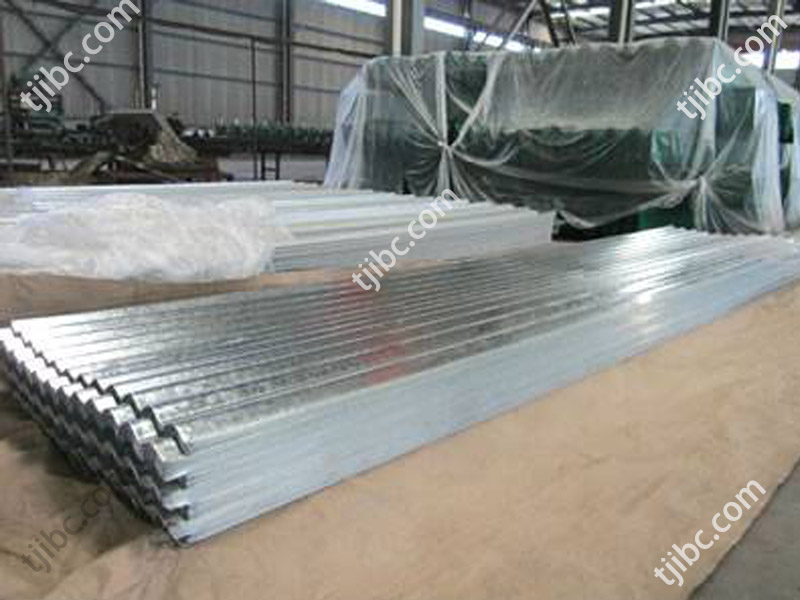
Corrugated roofing panels (IBC recommends ordering 10% extra for waste)
Corrugated roofing screws with EPDM washers (typically 100-150mm longer than panel thickness)
Ridge cap and flashing pieces
Butyl tape or roofing sealant
Step-by-Step Installation Guide
Step 1: Prepare the Roof Structure
Ensure your roof framework is properly prepared before panel installation:
- Check that all rafters or purlins are straight, level, and securely fastened
- Verify uniform spacing between supports (typically 24-48 inches depending on panel type)
- Install breathable roofing underlayment if required by local building codes
- Apply closure strips at eaves and ridges to prevent pest entry and improve insulation
Step 2: Plan Your Panel Layout
Proper planning prevents issues during installation:
- Determine panel orientation – typically installed perpendicular to supports
- Plan for adequate overhang (usually 1-3 inches beyond eaves)
- Account for thermal expansion – leave 1/8 inch gap between panel ends
- Mark purlin locations on top of first panels for easy screw placement
Step 3: Cutting and Handling Panels
- Support panels evenly during cutting to prevent binding
- Use a fine-toothed blade (60+ teeth) for clean cuts in metal panels
- Cut polycarbonate panels with scoring tools or specialized saws
- Deburr all cut edges and apply touch-up paint to metal edges
- Store panels flat and protected until installation
Step 4: Install the First Panel
The initial panel sets the alignment for the entire roof:
- Position the first panel at the lower corner of the roof
- Ensure proper overhang at both eave and gable ends
- Temporarily secure with two screws at the peak of corrugations
- Verify alignment using your chalk lines before proceeding
- Crucial detail: Always fasten screws through the peak of the corrugation, not the valley
Step 5: Continue Panel Installation
Maintain consistency as you progress:
- Overlap side laps by 1-2 corrugations depending on profile
- Install subsequent panels, checking alignment every 3-4 panels
- Use walking boards on installed panels to distribute weight
- Maintain straight lines both horizontally and vertically
Step 6: Proper Fastening Technique
Correct screw installation is critical for waterproof performance:
- Drive screws perpendicular to the roof surface
- Tighten until the EPDM washer makes full contact but do not overtighten
- Space screws approximately 12-24 inches apart along supports
- Place additional fasteners at overlaps and high-wind areas
- Install screws in every corrugation that crosses a support
Step 7: Install Flashings and Trim
Complete the weatherproofing system:
Seal all penetrations with appropriate flashing and sealant
Apply ridge cap with continuous sealant tape underneath
Install step flashings where roof meets walls or chimneys
Use specialized closure strips at eaves and rakes
Common Installation Mistakes to Avoid
Critical Errors That Compromise Performance:
Failure to use proper safety equipment
Fastening screws in the valleys instead of peaks
Over-tightening screws, which damages washers and creates leaks
Insufficient overlap at panel joints
Ignoring thermal expansion requirements
Inadequate support spacing for the specific panel type
Maintenance and Inspection Tips
After Installation:
- Conduct initial inspection after first heavy rain
- Check for loose fasteners after 30 days and retighten if necessary
- Clean debris from roof surface regularly
- Inspect sealant and flashings annually
- Keep drainage paths clear of obstructions
Professional Installation Matters
While DIY installation is possible, complex roofs benefit from professional expertise. IBC Group provides:
- Technical specifications for optimal installation
- Custom-cut panels to reduce on-site waste
- Access to specialized installation tools and materials
- Professional consultation for challenging projects
Need Installation Support?
Our technical team can provide project-specific guidance, material calculations, and recommended installation practices. Contact us for detailed installation manuals or to schedule a consultation with our roofing specialists.
If you’ve still got any questions, get in touch with our award-winning customer service team. They’ll be able to help you get your project underway as soon as possible.
Get In Touch With Us