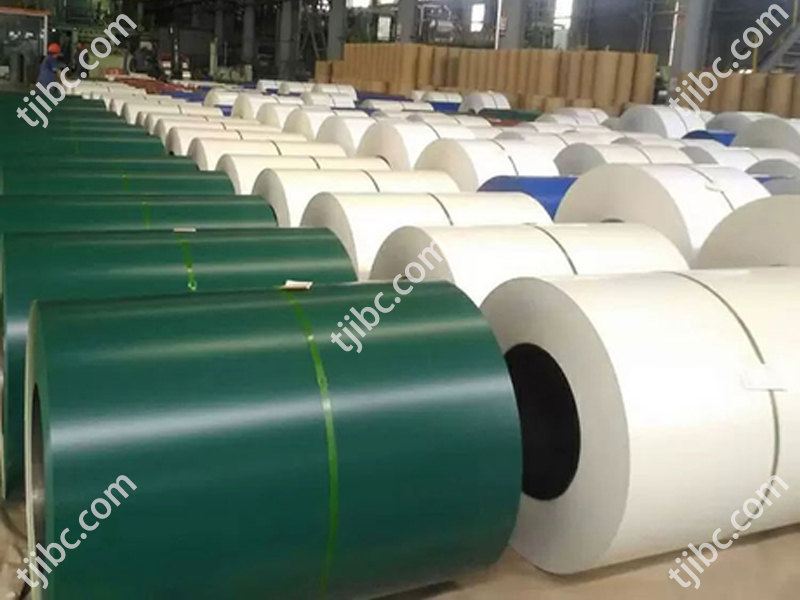
Steel coils, characterized by their concentrated weight and tendency to roll, present a significant challenge in containerized transport. Improper securing and bracing are the leading causes of cargo damage and costly container repairs. Drawing from our extensive case history, we have compiled this comprehensive resource outlining the risks, practical advice, and a reference packing plan for shipping steel coils.

Section 1: The 3 Core Risks in Ocean Transport
Cargo Shift: Primarily caused by incorrect or inadequate lashing of the coils.
In-Transit Damage: Occurs when the securing strength is insufficient to withstand the forces of heavy seas and vessel motion.
Container Floor Collapse: Results from the coil’s weight not being evenly distributed across the container’s floor load-bearing structure.
Section 2: 7 Fundamental Principles for Container Loading
Check Container Condition & Max Payload: Inspect the container’s structure and never exceed its maximum payload (typically 28 tons for a 20GP).
Prevent All Movement: The securing plan must effectively prevent rolling, tipping, bouncing, and sliding.
Never Use Container Walls as Lashing Points: The side walls and doors are not designed to handle securing forces.
Use Certified Lashing Materials: All lashing equipment must have valid certification from a classification society.
Optimize Lashing Angles: The ideal lashing angle should be between 30 and 60 degrees.
Secure All Timber: All dunnage and shoring wood must firmly nailed to the container floor.
Optimize Stowage on Vessel: Request stowage of coil containers in the bottom holds of the ship to minimize movement.
Section 3: Professional Packing Plan: A Step-by-Step Guide
A meticulous plan required to prevent damage to both the cargo and container during handling and transit. Below is our proven, detailed procedure:
Centerline Alignment: Place the steel coil on the longitudinal centerline of the container, avoiding misalignment.
Axis Coincidence: The central axis of the coil should coincide with the container’s longitudinal centerline.
Even Load Distribution: Arrange the coils based on the container’s load capacity to ensure weight is evenly distributed across the floor.
Lay Longitudinal Dunnage:
Place two wooden timbers running parallel to the container’s length.
Timber Length Formula: L = Coil Weight (MT) X 0.22
Space the timbers 1/3 to 1/2 of the coil’s diameter apart, ensuring a minimum clearance of 5CM between the coil and the container floor.
Nail the timbers to the floor at intervals of no more than 40CM.

Side Wedging: Use tapered wedges on both sides of the coil to prevent rolling and nail them securely.

End Shoring: Use timber braces at the front and rear of the coil to prevent longitudinal movement:

Do not place horizontally timber directly against the container wall. Place a timber of the same size perpendicular to the brace, spreading the load across multiple side wall corrugations.
Maintain a uniform spacing of 20-30CM between all end shoring timbers.
Timber Sizing Guide:
- Coil < 4 MT: 10 x 10 CM
- Coil 4 – 8 MT: 15 x 15 CM
- Coil > 8 MT: 20 x 20 CM
Section 4: Pre-Shipment Final Checklist
Before we load the container onto the vessel, the shipper and carrier should jointly confirm the following:
- Total coil weight does not exceed the container’s safe working load.
- All lashing and bracing is correct and secure.
- All lashing materials meet international safety standards with valid certificates.
- The planned stowage position of the container on the ship.
- The weather and sea conditions forecast for the vessel’s intended route.